Objective: A step by step guide to install VMware vSphere Hypervisor ESXi on an Intel Xeon processor based system using a USB flash drive.
Pre-Requisites:-
1. Create an installable media (I used a USB flash drive as explained in my other post) to install VMware vSphere
Hypervisor ESXi 5.5.
2. A heavy duty system to host VMware vSphere Hypervisor ESXi
and should be connected to your network so you can access it from a remote
system.
Note:
I used a Dell T7400 Workstation that has 64 bit Dual Intel Xeon Quad Core
processor with 8 GB of memory.
Pre-Installation Tasks:
1)
Make sure that USB Device is selected in the
host system’s BIOS (I disabled the rest and only enabled USB device):-

2)
Enable Virtualization at hardware level if your
system is capable of (shown below is Intel Xeon X5472 3Ghz Quad processor). Make below changes, save and exit to let the system boot using the USB
flash drive.


Installation
3)
Boot from USB flash drive, hit enter or let it boot
automatically

4)
Installation begins

5)
Hit Enter to continue installation:-

6)
Hit F11 to accept the license agreement and
continue:-

7)
Select the storage device (hard disk) where you want to install ESXi:-

8)
Select the keyboard layout:-

9)
Assign and confirm root password:-

10) Confirm the install


14)
Now right at the beginning of reboot, hit F2 to enter into BIOS setup and change the
boot sequence to include the hard drive where we just installed ESXi. Save and exit and let the system restart.


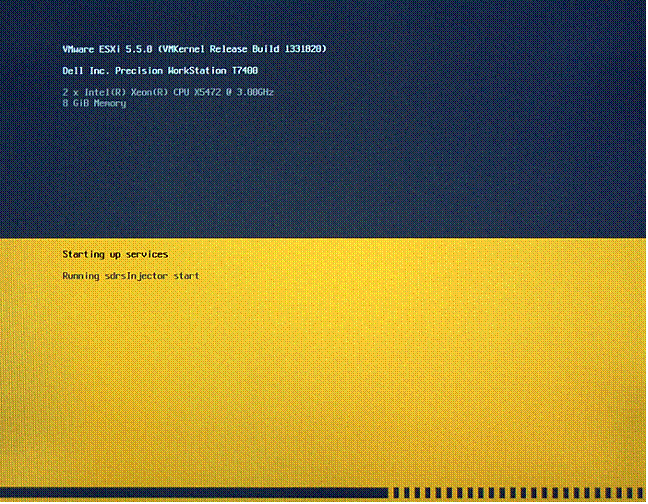
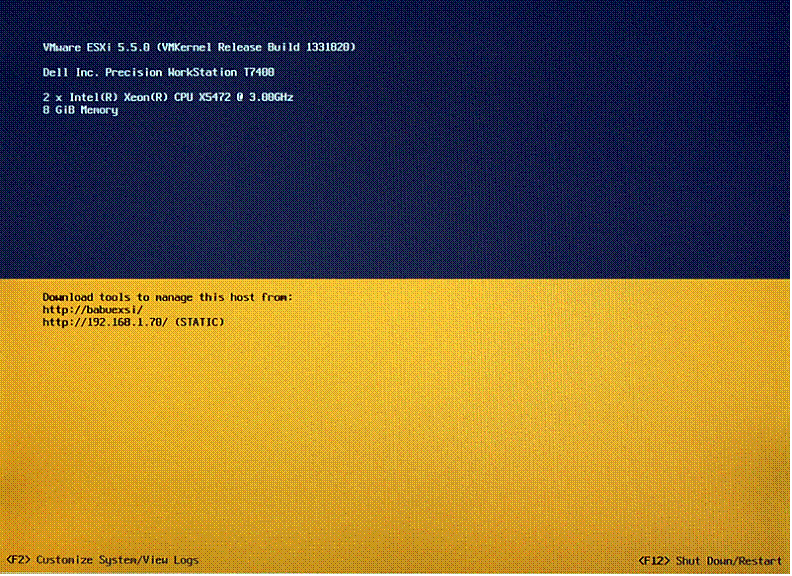
16) ESXi is up now:-

Configuration / Customization:
17) Hit F2 to customize system which will ask you to log into the system:-
-
Use Static IP (instead of DHCP by default)
-
Disable IPv6
-
Provide a custom hostname


19) Scroll down to IP Configuration and hit enter:-


21) Once complete, you will see the IP configuration has turned from “Automatic” to “Manual”:-


23) Scrolling down to “DNS Configuration” to change the Hostname:-


Next step is to Install VMware vSphere Client 5.5 on a separate machine.
5 comments:
Hi,
Thank you for the incredibly helpful articles about ESXi and VSphere. They are very straightforward and helpful.
I have a question: Do you happen to know if it's possible to browse (Windows Explorer) within a ESXi drive, to locate and copy data files? Specifically, files under Windows 2008 Server installed in a VM? ESXi was temporarily installed on a SSD, which is now connected to my Windows 7 machine, and if possible I'd like to pull some files.
Hi Jeanne,
Yes, Once you connect to ESXi host using vSphere client, go to the "configuration" tab, and on the left side under "Hardware" click on "Storage", then right click on the "datastore#" and choose "Browse Datastore", where you will get Windows Explorer like functionality to manage files. Other option is command line interface, using a putty tool, you can SSH (you need to enable SSH at ESXi though) and manage files from there.
Thanks
WOW, that was fast - thanks!
Since I don't have an active ESXi host to connect to at the moment, I need to 1) finish the installation of my new HDDs, 2) install ESXi, 3) connect with VSphere client, and then 4) browse the SSD datastore from there, correct?
I was thinking I could browse it without an ESXi host; as long as it can be browsed eventually, that's a relief.
Thanks again!
Correct.
Unless you have 2 separate machines (or VMs), one for ESXi host and other one for vSphere client, I am not sure how you will be able to browse the datastore to see the files. What I would do is boot the ESXi that's on your SSD using a VM (using any VM tool like VMware workstation or Virtual Box on your Windows 7 machine) and then connect it using vSphere from your Windows 7 machine.
Thanks,
I get a lot of great information here and this is what I am searching for. Thank you for your sharing. I have bookmark this page for my future reference.view vmware jobs in hyderabad.
Post a Comment