Objective: Create Virtual Machines for 64 bit Oracle Linux Server 6.3 for Oracle RAC 11.2.0.3 on VMware ESXi 5.5
Pre-Requisites:-
a. Already installed VMware vSphere Hypervisor ESXi 5.5, see steps.
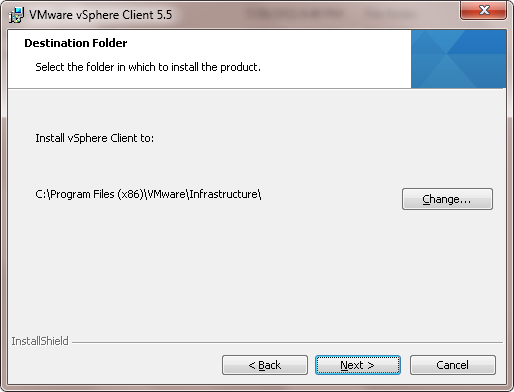
b. Already installed VMware vSphere Client 5.5, see steps.
Create Network for Virtual Machines:
1) Connect to ESXi host using the vSphere client
1) Connect to ESXi host using the vSphere client

2) Once you are connected, create a network for node to node interconnect. In the "configuration" tab, click "Networking" under hardware and click "Add Networking"

3) Chose (default) Virtual Machine and click next

4) Create a vSphere standard switch (default)

5) Provide a Network Label: I used a label called "Node_2_Node_Network"

6) Click Finish

7) You will see the network we just created

Create Virtual Machine:
8) File - New - Virtual Machine

9) Choose Custom

10) Provide name of VM
9) Choose Custom
10) Provide name of VM

11) Accept default, click next

12) Version 8 (by default)

13) Choose Oracle Linux 64 Bit

14) Accept default

15) Accept default of 2GB memory

16) Choose 3 NICs and choose options as follows:-

17) Accept default

18) Accept default to a create a virtual disk

19) I set the disk size to 20GB (but highly recommend 30GB, see below my lesson learned) and select "Thick Provision Eager Zeroed".
[Lesson Learned: In my method, I store the installable Oracle software in one of the nodes (until its installed and then delete it), so while installing Oracle 11g RAC database, I ran into insufficient disk space issue. Hence I recommend you to set a disk size of at least 25 GB (or 30 GB would be nicer) if you can when you create the VM. I overcame this issue by adding a new hard disk in node 1 just to stage the installable Oracle software]

20) Accept default

21) Verify below summary and click Finish

22) Virtual Machine Creation on Progress

23) Completed


24) Now the its ready for OS (64 bit Oracle Linux 6) install.