About Me

Database and GIS Consultant.

Sunday, February 16, 2014

How to Install VMware vSphere Client 5.5

Objective: Install vSphere Client 5.5 and connect to Hypervisor ESXi  5.5 that is on a different machine on the same network.

About VMware vSphere Client: It is a Windows program that is used to manage the ESXi host as well as the Virtual Machines hosted in the ESXi host.

Pre-Requisites:-


b.    Both client (vSphere Client) and host (Hypervisor ESXi) machines are on the same network.

c.    Download  VMware vSphere Client 5.5 (VMware-viclient-all-5.5.0-1281650.exe) from www.vmware.com

d.    A light duty laptop or PC is enough to install VMware vSphere Client.  I have downloaded the above file in my 64 bit Windows 7 Home Premium laptop and will use the same to install VMware vSphere Client.

Installation:

1)    Start by double clicking the downloaded exe file:-


2)    Choose language and click OK


3)    Click Next on the install wizard:-


4)    Accept the terms and conditions:-


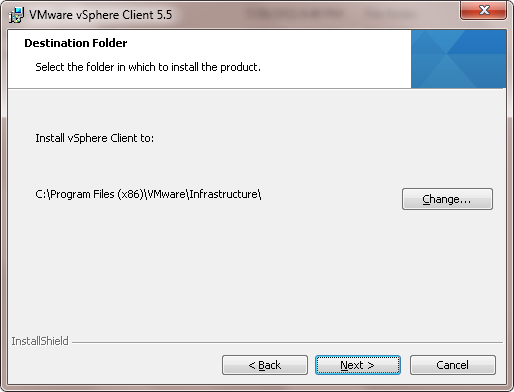
5)    Choose install location (I chose default) and click Next -

6)     Click Install


7)    Installation on progress


8)     Click Finish:-


9)    Start the VMware vSphere Client and provide the IP address and logon credentials of ESXi server:


10)    Ignore the security warning (you can check “Install this certificate and do not display…” to avoid this screen in the subsequent logins):-


11)    Click OK to acknowledge and continue with the evaluation license notice or you can also assign the license later as shown in step 13:-


12)    Now the client has connected to the ESXi host:-


13)    Assign license to the ESXi host from the vShere client:-

Procedure
a    From the vSphere Client, click the Configuration tab.
b    Under Software, click Licensed Features.
c    Click Edit.


d    Assign a license key.
- Select Assign an existing license key to this host and select a license key from the Product list.
- Select Assign a new license key to this host, click Enter Key, and enter a license key and an optional label for the license key.


e    Click OK.  Here is an example:-


Saturday, February 15, 2014

How to Install VMware vSphere Hypervisor ESXi 5.5

Objective: A step by step guide to install VMware vSphere Hypervisor ESXi on an Intel Xeon processor based system using a USB flash drive.

Pre-Requisites:- 

1. Create an installable media (I used a USB flash drive as explained in my other post) to install VMware vSphere Hypervisor ESXi 5.5. 

 2. A heavy duty system to host VMware vSphere Hypervisor ESXi and should be connected to your network so you can access it from a remote system.
Note: I used a Dell T7400 Workstation that has 64 bit Dual Intel Xeon Quad Core processor with 8 GB of memory.

Pre-Installation Tasks:

1)      Make sure that USB Device is selected in the host system’s BIOS (I disabled the rest and only enabled USB device):-


2)      Enable Virtualization at hardware level if your system is capable of (shown below is Intel Xeon X5472 3Ghz Quad processor). Make below changes, save and exit to let the system boot using the USB flash drive.


Installation

3)      Boot from USB flash drive, hit enter or let it boot automatically


4)      Installation begins


5)      Hit Enter to continue installation:-

 
6)      Hit F11 to accept the license agreement and continue:-

7)      Select the storage device (hard disk) where you want to install ESXi:-


8)      Select the keyboard layout:-


9)      Assign and confirm root password:-


10)      Confirm the install


11)   Install on progress:-


12)   Installation is complete, remove the USB flash drive that was used for install and hit Enter to reboot:-


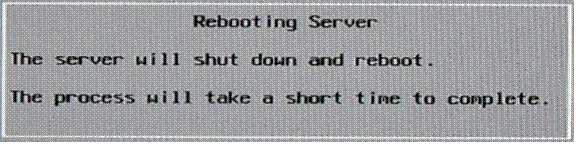
13)   Rebooting:-


14)   Now right at the beginning of reboot, hit F2 to enter into BIOS setup and change the boot sequence to include the hard drive where we just installed ESXi. Save and exit and let the system restart.


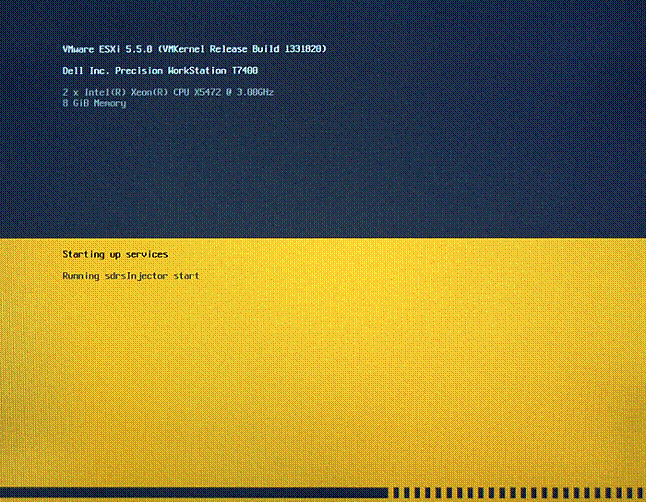
15)   ESXi is starting up:-


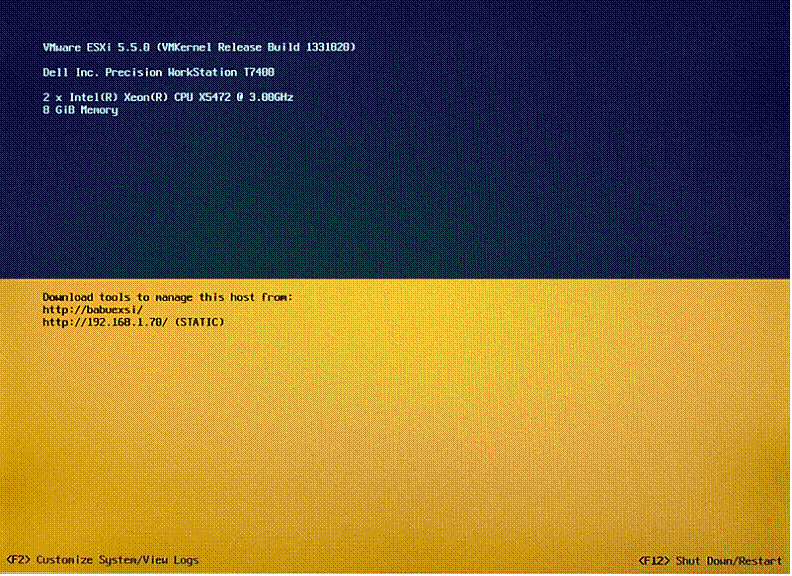
 16)   ESXi is up now:-


Configuration / Customization:

 17)   Hit F2 to customize system which will ask you to log into the system:-
-          Use Static IP (instead of DHCP by default)
-          Disable IPv6
-          Provide a custom hostname


18)   Scroll down to Configure Management Network and hit enter:-


19)   Scroll down to IP Configuration and hit enter:-


20)   Select the static IP address and key in the IP address you want:-


21)   Once complete, you will see the IP configuration has turned from “Automatic” to “Manual”:-


 22)   Now disable IPv6 (it is enabled by default):-


 23)   Scrolling down to “DNS Configuration” to change the Hostname:- 


 24)   Hostname is changed:-


25)   Reboot to make the changes come to effect:-


 26)   System is coming up:-


 27)   ESXi install and configuration is complete and ready to use:


Next step is to Install VMware vSphere Client 5.5 on a separate machine.


Thursday, February 13, 2014

How to create a bootable USB flash drive to install VMware vSphere Hypervisor ESXi 5.5

Objective: Create a bootable USB flash / thumb drive to install VMware vSphere Hypervisor ESXi 5.5

Pre-Requisites:-

a)      Download Universal USB Installer (Universal-USB-Installer-1.9.5.1.exe) from www.pendrivelinux.com
b)      Download  VMware vSphere Hypervisor ESXi  (VMware-VMvisor-Installer-5.5.0-1331820.x86_64.iso) from www.vmware.com
c)      I have downloaded these above 2 files in a folder called "c:\sw" in my laptop that runs 64 bit Windows 7 Home Premium and will use this laptop to create a bootable thumb drive.
d)      Need 1 empty USB flash drive (at least half  GB capacity), remember this drive will be formatted before creating it as a bootable drive

 Create the bootable USB Drive:-

1)      Attach the USB flash drive to the laptop
2)      Execute the downloaded Universal USB Installer
3)      Click “I Agree” to agree the License Agreement:-


4)      In step 1 (of below screen), choose Ubuntu (By the way, EXSi Hypervisor was built on Linux kernel):- 

  
5)      Click “Browse” in step 2 (of above screen), type in the path and file name and hit the down arrow in the “File name” section and choose the correct iso file of the VMWare Hypervisor and click Open as shown below. (browse don’t work quite well, might have got fixed in newer versions):-


6)       In step 3 (of below screen) choose the USB drive and check the "we will format" option. Then click “create”:


7)       Click Yes to the below warning:-


8)      Installation and extraction on progress:-


9)      Click Close when complete:-


10)      Now the USB flash drive is ready to be used as an installable / bootable drive, eject it:-


It has consumed disk space of 325MB in the USB flash drive. 

Next step is to Install VMware vSphere Hypervisor ESXi 5.5 using this USB flash drive.
.

Friday, June 4, 2010

ORA-29341: The transportable set is not self-contained

H:\>exp 'sys/****@db5 as sysdba' parfile=Z:\DATA_NORTH_TBSP_EXP.PAR

Export: Release 10.2.0.3.0 - Production on Fri Jun 4 15:14:40 2010

Copyright (c) 1982, 2005, Oracle. All rights reserved.


Connected to: Oracle Database 10g Enterprise Edition Release 10.2.0.3.0 - Production
With the Partitioning, OLAP, Data Mining and Real Application Testing options
Export done in WE8MSWIN1252 character set and AL16UTF16 NCHAR character set
Note: table data (rows) will not be exported
About to export transportable tablespace metadata...
EXP-00008: ORACLE error 29341 encountered
ORA-29341: The transportable set is not self-contained
ORA-06512: at "SYS.DBMS_PLUGTS", line 1387
ORA-06512: at line 1
EXP-00000: Export terminated unsuccessfully


SYS@db5> EXECUTE dbms_tts.transport_set_check('DATA_NORTH', TRUE, TRUE);

PL/SQL procedure successfully completed.

SYS@db5> SELECT * FROM transport_set_violations;

VIOLATIONS
----------------------------------------------------------------------------------------------------
Index EGIS_RW_X.SDE_RIX_113 in tablespace DATA_NORTH points to table EGIS_RW_X.DATA_SOUTH
SOUTH

SYS@db5> ALTER INDEX EGIS_RW_X.SDE_RIX_113 REBUILD TABLESPACE DATA_SOUTH;

Index altered.

SYS@db5> SELECT * FROM transport_set_violations;

VIOLATIONS
----------------------------------------------------------------------------------------------------
Index EGIS_RW_X.SDE_RIX_113 in tablespace DATA_NORTH points to table EGIS_RW_X.DATA_SOUTH
SOUTH


SYS@db5> EXECUTE dbms_tts.transport_set_check('DATA_NORTH', TRUE, TRUE);

PL/SQL procedure successfully completed.

SYS@db5> SELECT * FROM transport_set_violations;

no rows selected


H:\exp 'sys/****@db5 as sysdba' parfile=Z:\DATA_NORTH_TBSP_EXP.PAR

Export: Release 10.2.0.3.0 - Production on Fri Jun 4 15:20:11 2010

Copyright (c) 1982, 2005, Oracle. All rights reserved.


Connected to: Oracle Database 10g Enterprise Edition Release 10.2.0.3.0 - Production
With the Partitioning, OLAP, Data Mining and Real Application Testing options
Export done in WE8MSWIN1252 character set and AL16UTF16 NCHAR character set
Note: table data (rows) will not be exported
About to export transportable tablespace metadata...
For tablespace DATA_NORTH ...
. exporting cluster definitions
. exporting table definitions
. . exporting table DATA_NORTH
. . exporting table SDE_RAS_81
. . exporting table SDE_BND_81
. . exporting table SDE_AUX_81
. . exporting table SDE_BLK_81
. . exporting table F85
. . exporting table S85
. exporting referential integrity constraints
. exporting triggers
. end transportable tablespace metadata export
Export terminated successfully without warnings.